 "Urambo Tauro" (urambotauro)
09/26/2016 at 12:00 • Filed to: cl100, honda, motorcycle, project, wrenching, blog
 3
3
 4
4
 "Urambo Tauro" (urambotauro)
09/26/2016 at 12:00 • Filed to: cl100, honda, motorcycle, project, wrenching, blog |  3 3
|  4 4 |
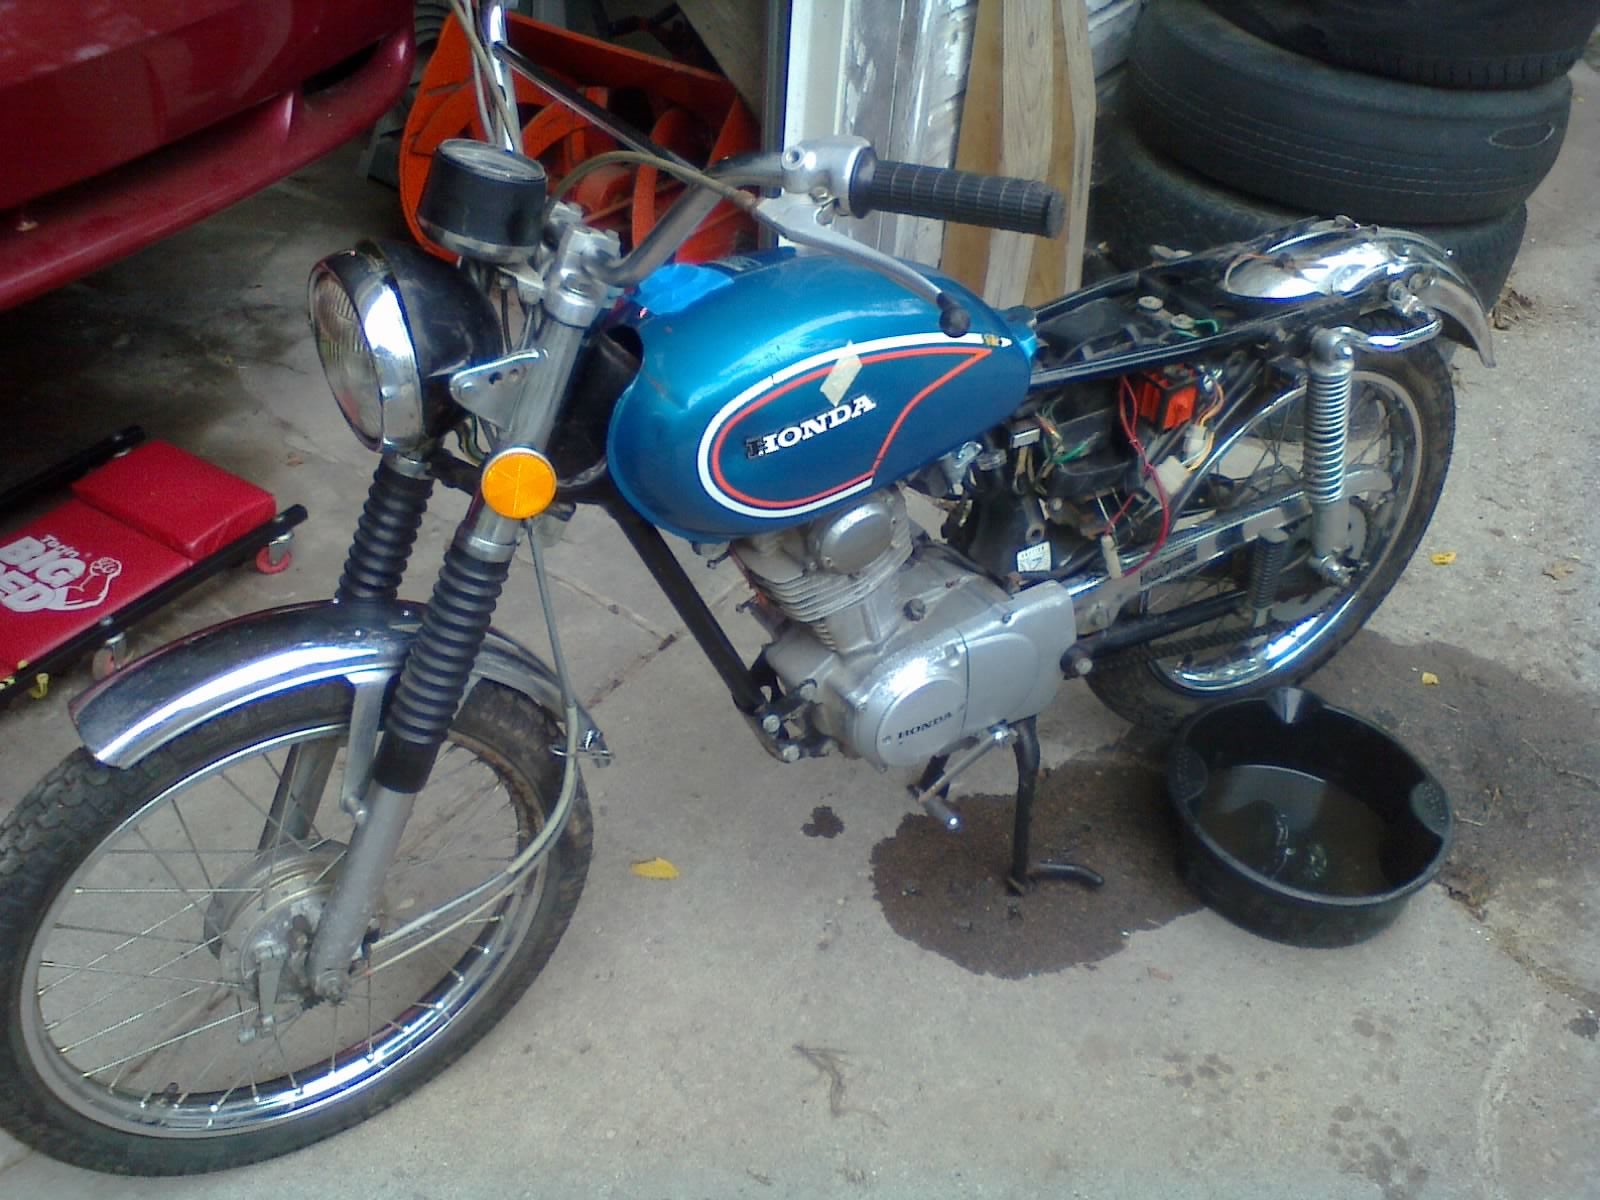
I owe you guys a cumulative update. In yesterday’s teaser, I proclaimed that my father’s !!!error: Indecipherable SUB-paragraph formatting!!! was finally up and running, but the posts before that suggested that there was still a ways to go yet. Here’s what happened over the past few days.
My clutch cover gasket arrived, so I closed the engine back up and discovered that the oil filter screws were not the only JIS screws. Somehow I had overlooked the little mark on the screw-heads and lucked out on using a Philips screwdriver to remove them. I thank my lucky stars that I didn’t ruin them.
Once sealed back up, I filled the engine with 10W-30 motorcycle oil. Both tires were flat, so I aired them up to check pressures later. I should have done so earlier, because if the tubes are bad, I need to order those before I run out of things to do. But when I checked them the next day, they seemed to be holding air just fine.
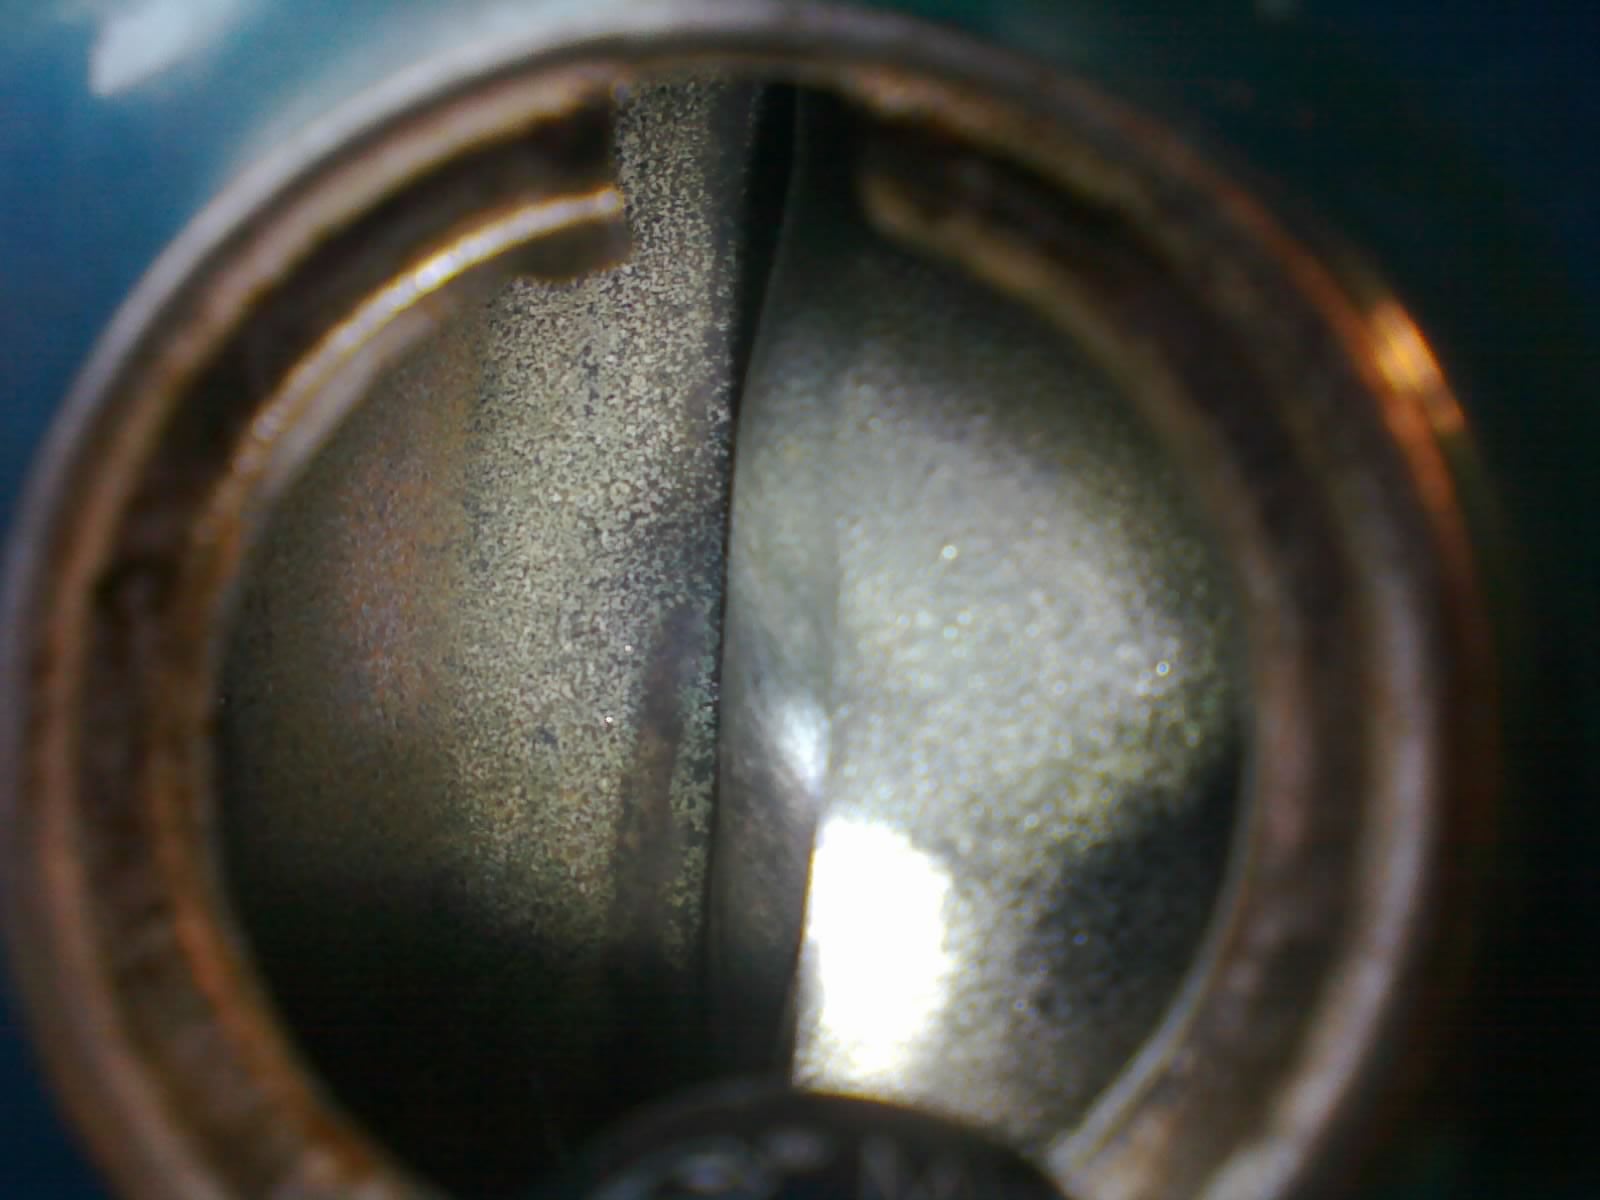
Results of approximately one week of electrolysis
After some impressive results with using !!!error: Indecipherable SUB-paragraph formatting!!! to remove rust from the inside of the fuel tank, I used the Kreem 3-stage Fuel Tank Liner Kit. There is already an abundance of !!!error: Indecipherable SUB-paragraph formatting!!! documenting the process, so I won’t spell it out here.
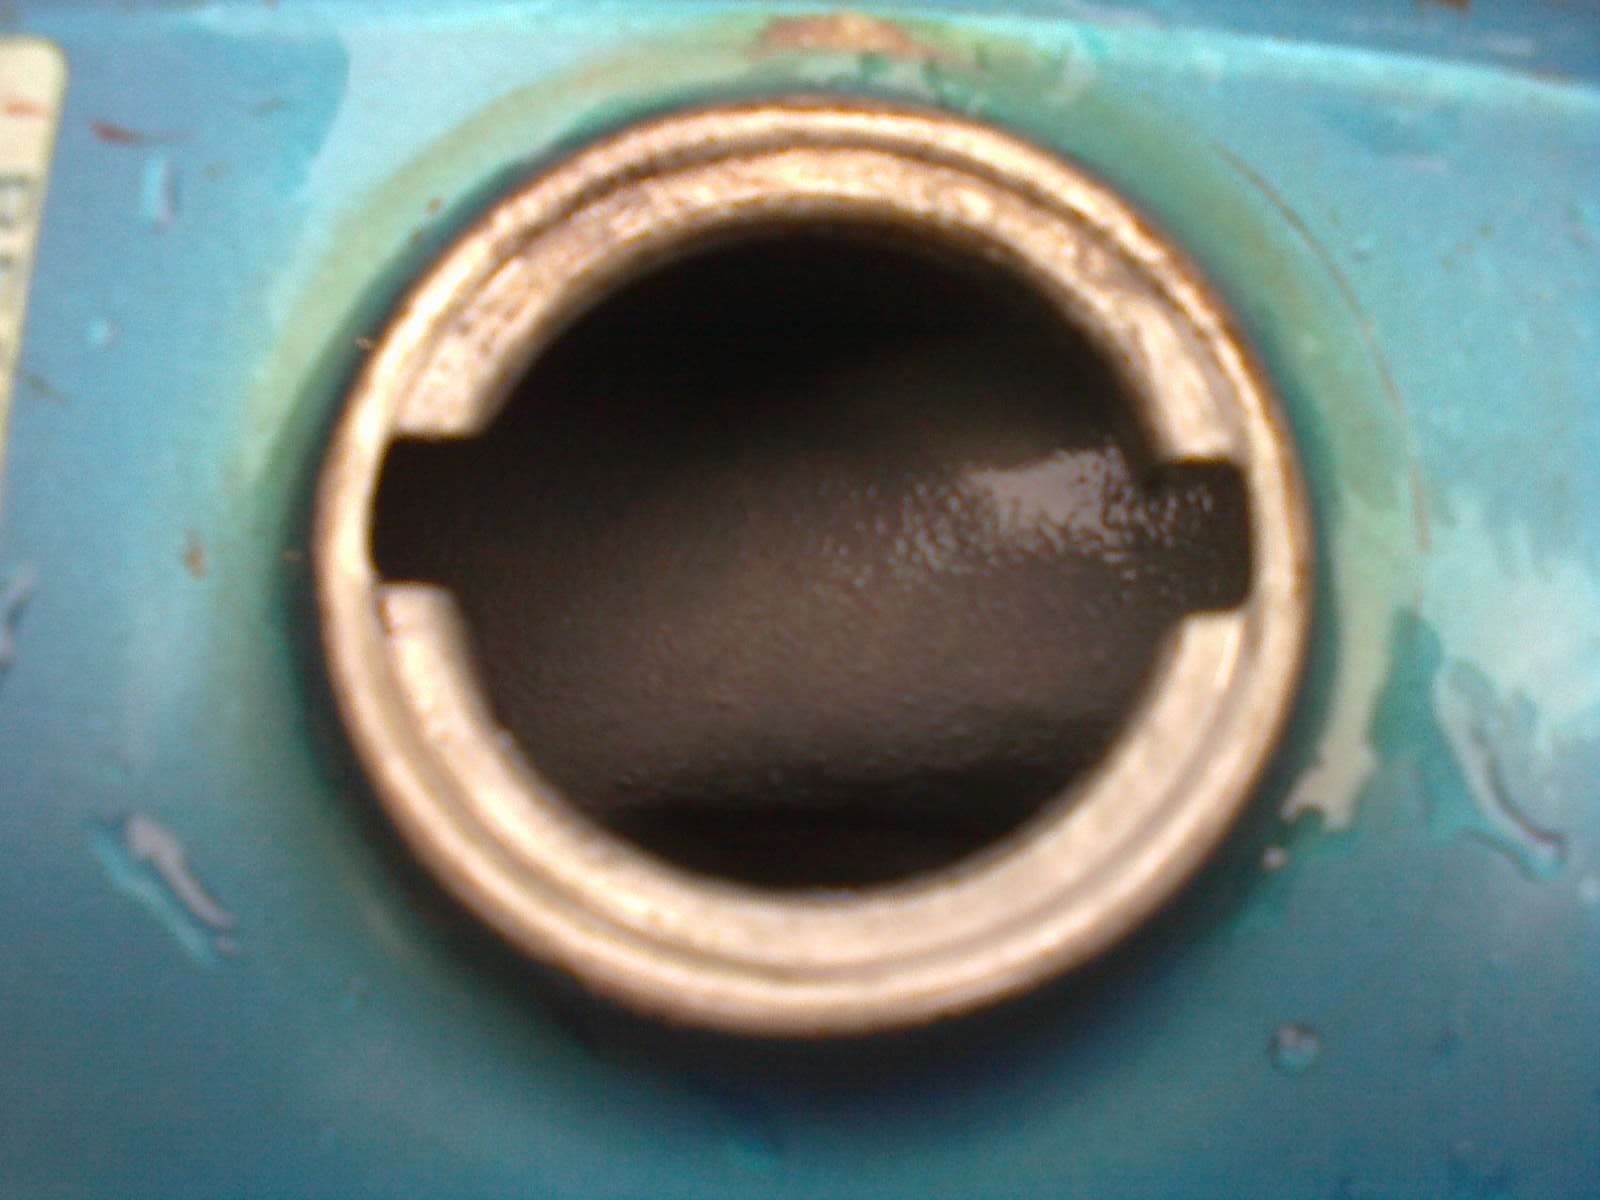
Flat grey metal after acid etch
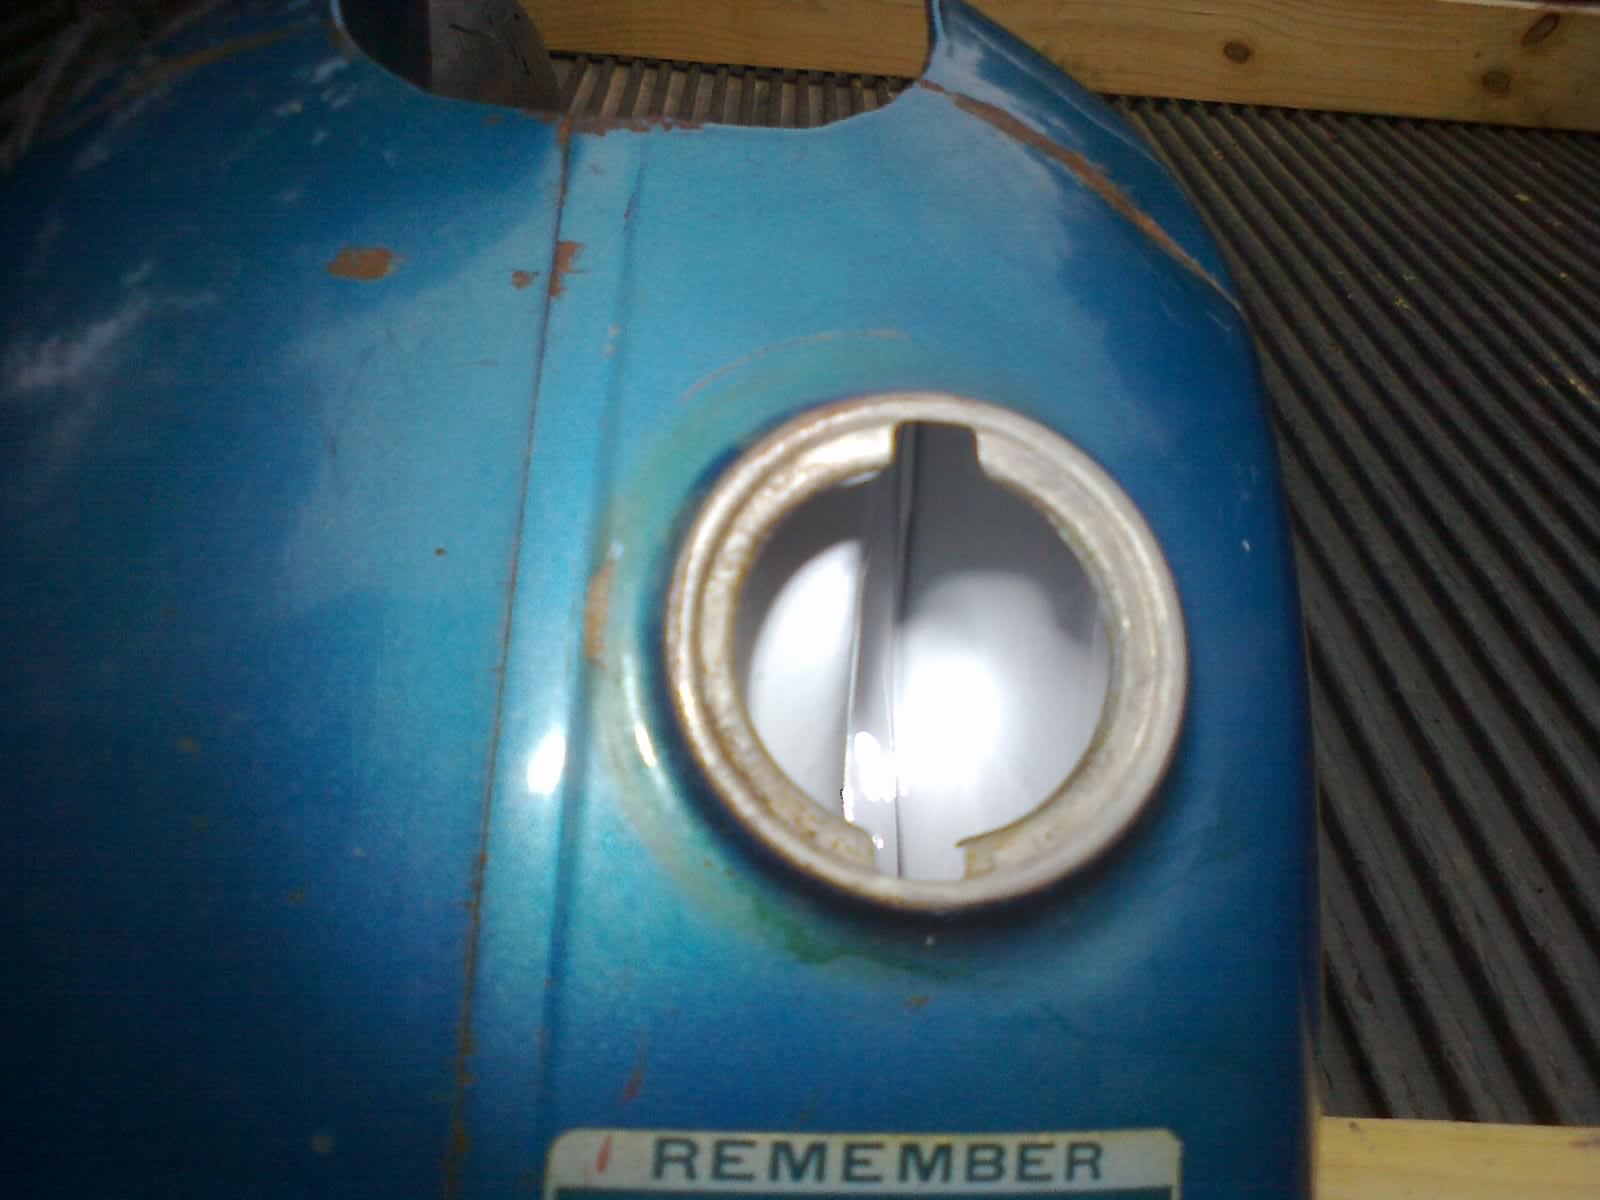
White tank liner before drying
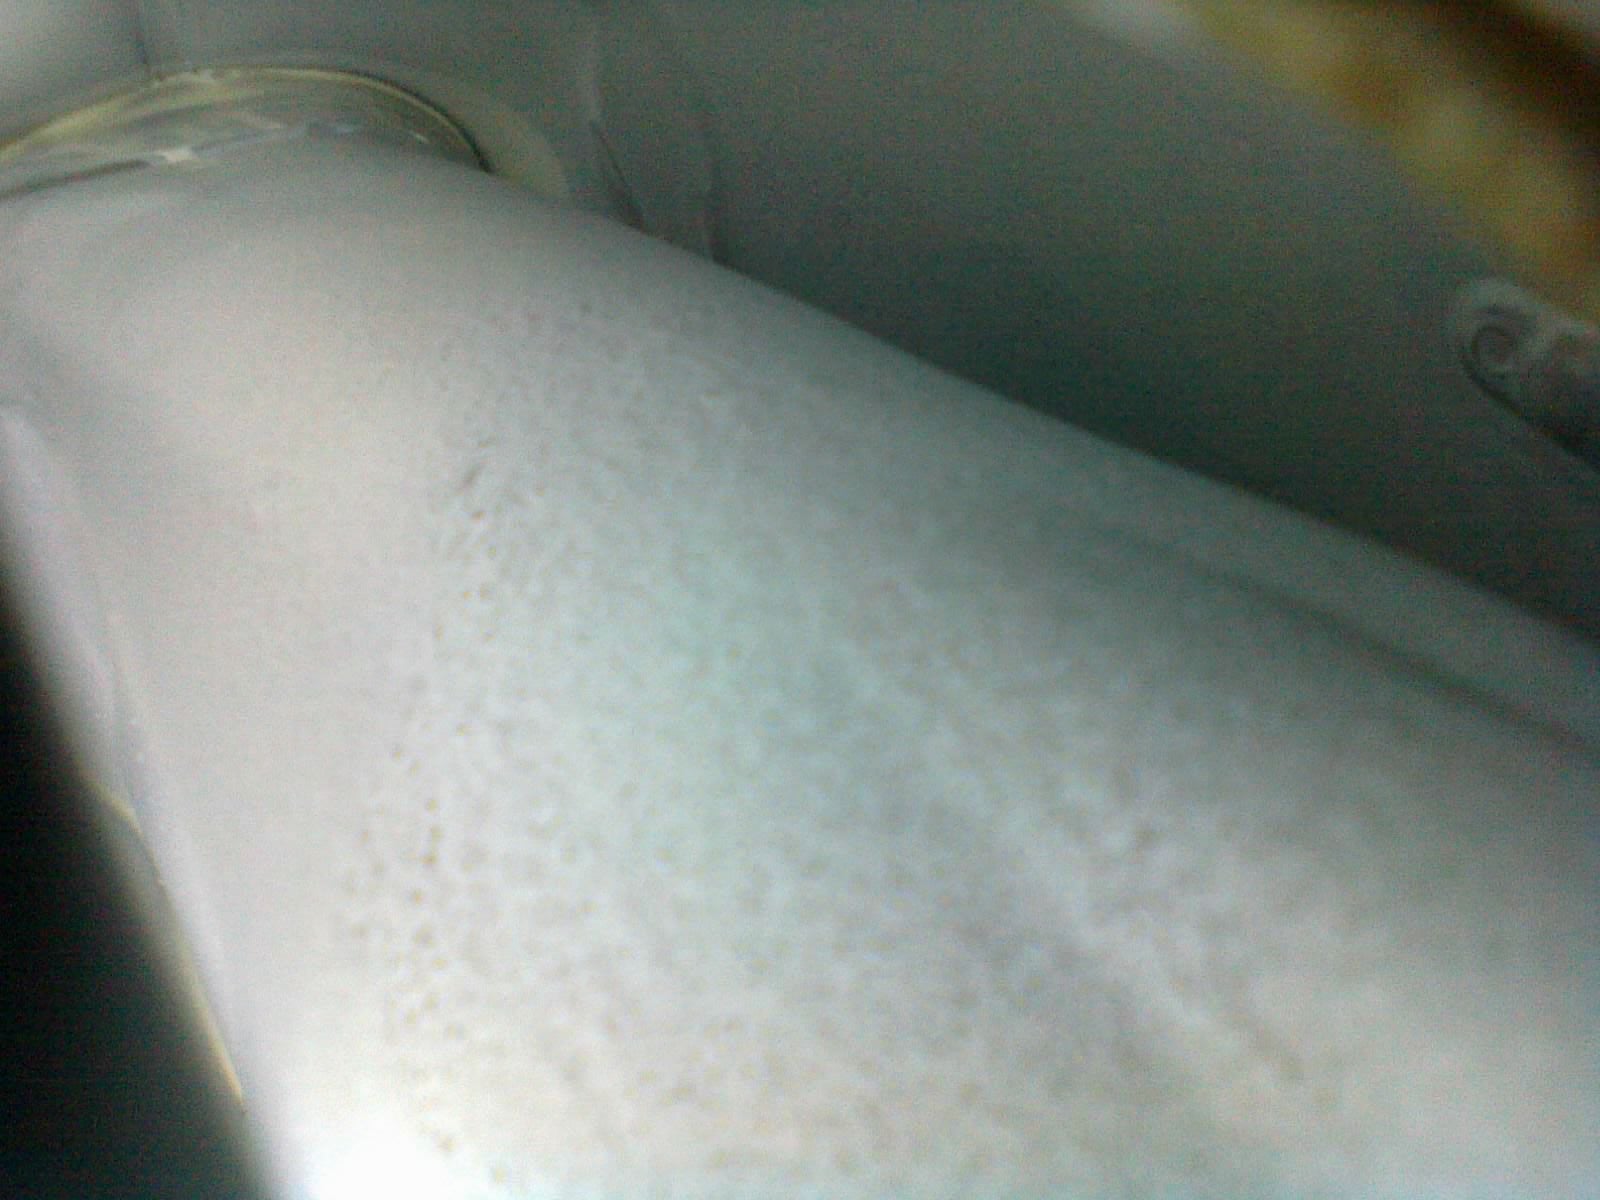
inside of tank after tank liner was fully dried
During the electrolysis, I determined that the old fuel cock was not only missing the little bowl on the bottom, but the valve was clogged. Instead of trying to clean it and locate a new bowl, I just ordered a whole new valve assembly. This allowed me to use the old fuel cock to seal the low point and keep the Kreem liner from gunking up the threads for the retaining screw. As the product dried, I removed the fuel cock and installed the new one.
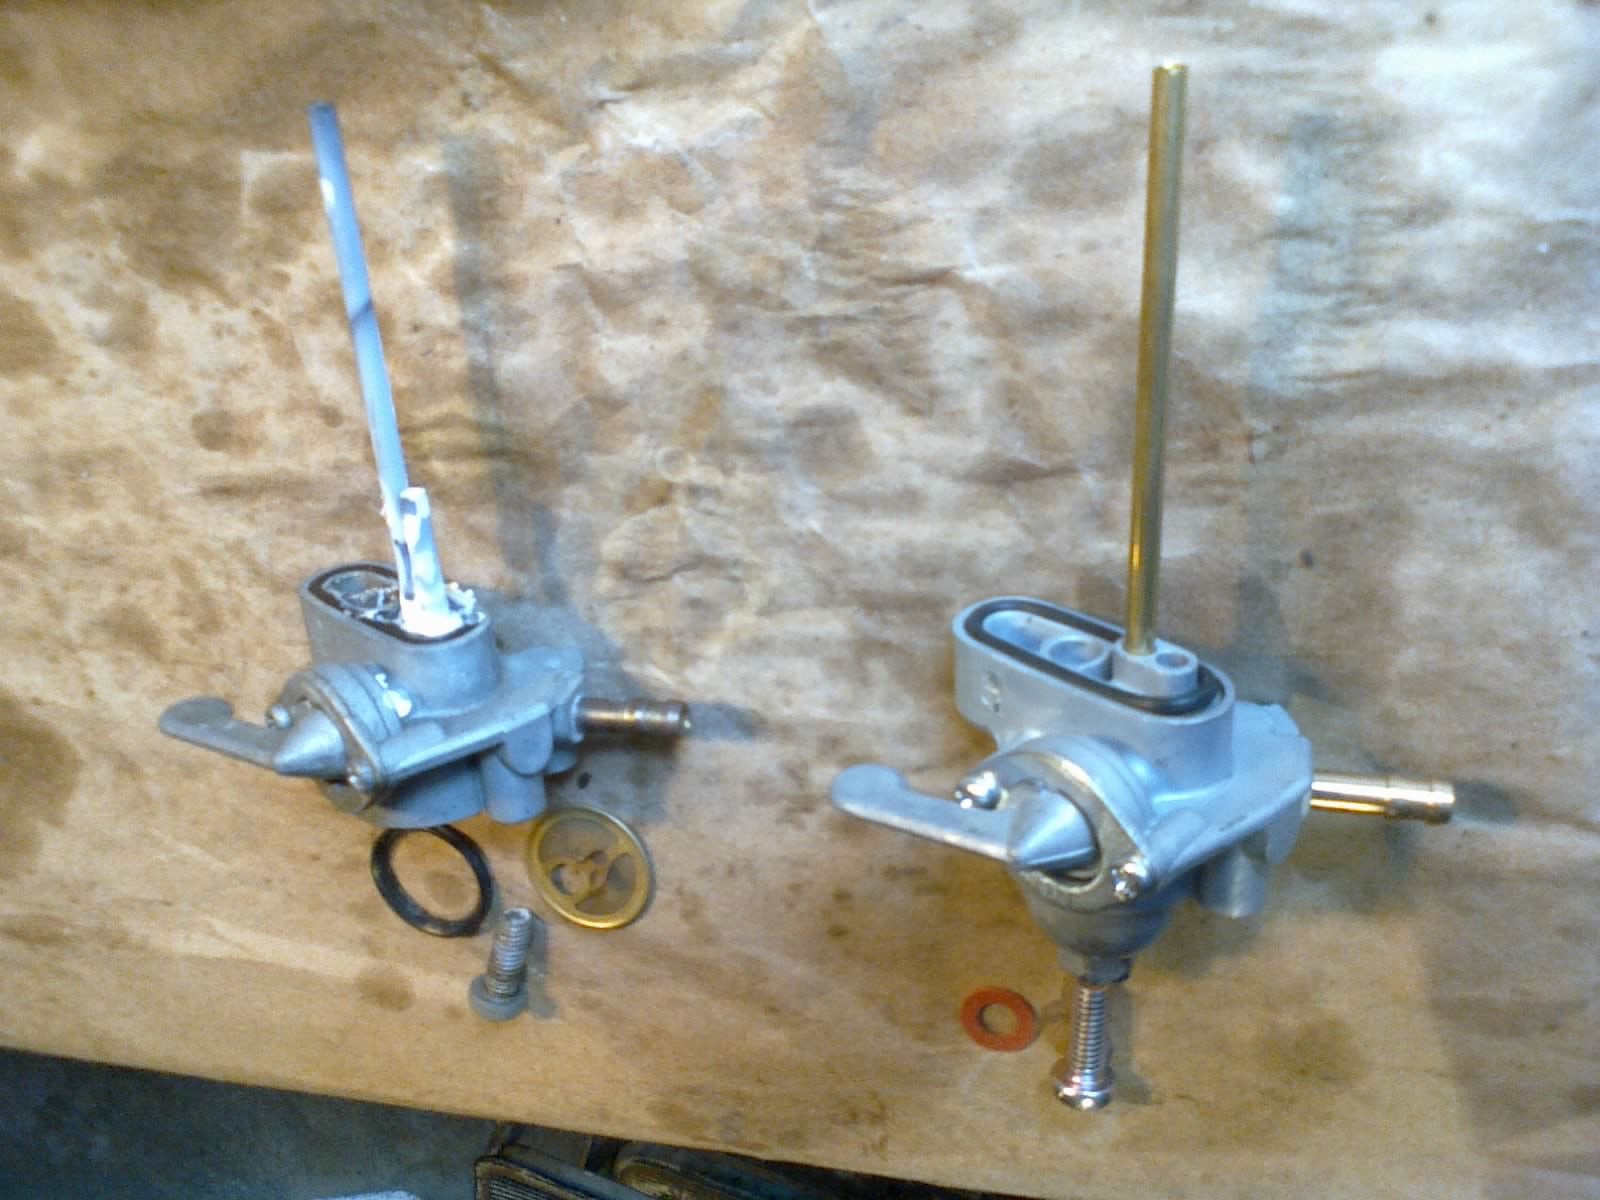
Old fuel cock vs new. Note that the old valve’s “reserve” pickup extends up into the tank a little, while the new one does not.
There were remnants of what appeared to have been a rubber cap on some electrical connections in front of the ignition coil (which sits directly underneath the fuel tank). Looks like something that should be protected, even though there is a good inch of clearance on all sides when the tank is in place. Fortunately, I like to keep all those random caps and plugs that come with brake parts, AC parts, etc., and had something that fit perfectly.

I installed the tank back onto the bike, with its new forward bushing (the other mounts were still ok), and slid the seat into place, cleaning it with some leather conditioner. I then rolled the bike outside to see if the sun might un-crease the leather from years of being buried under other junk.
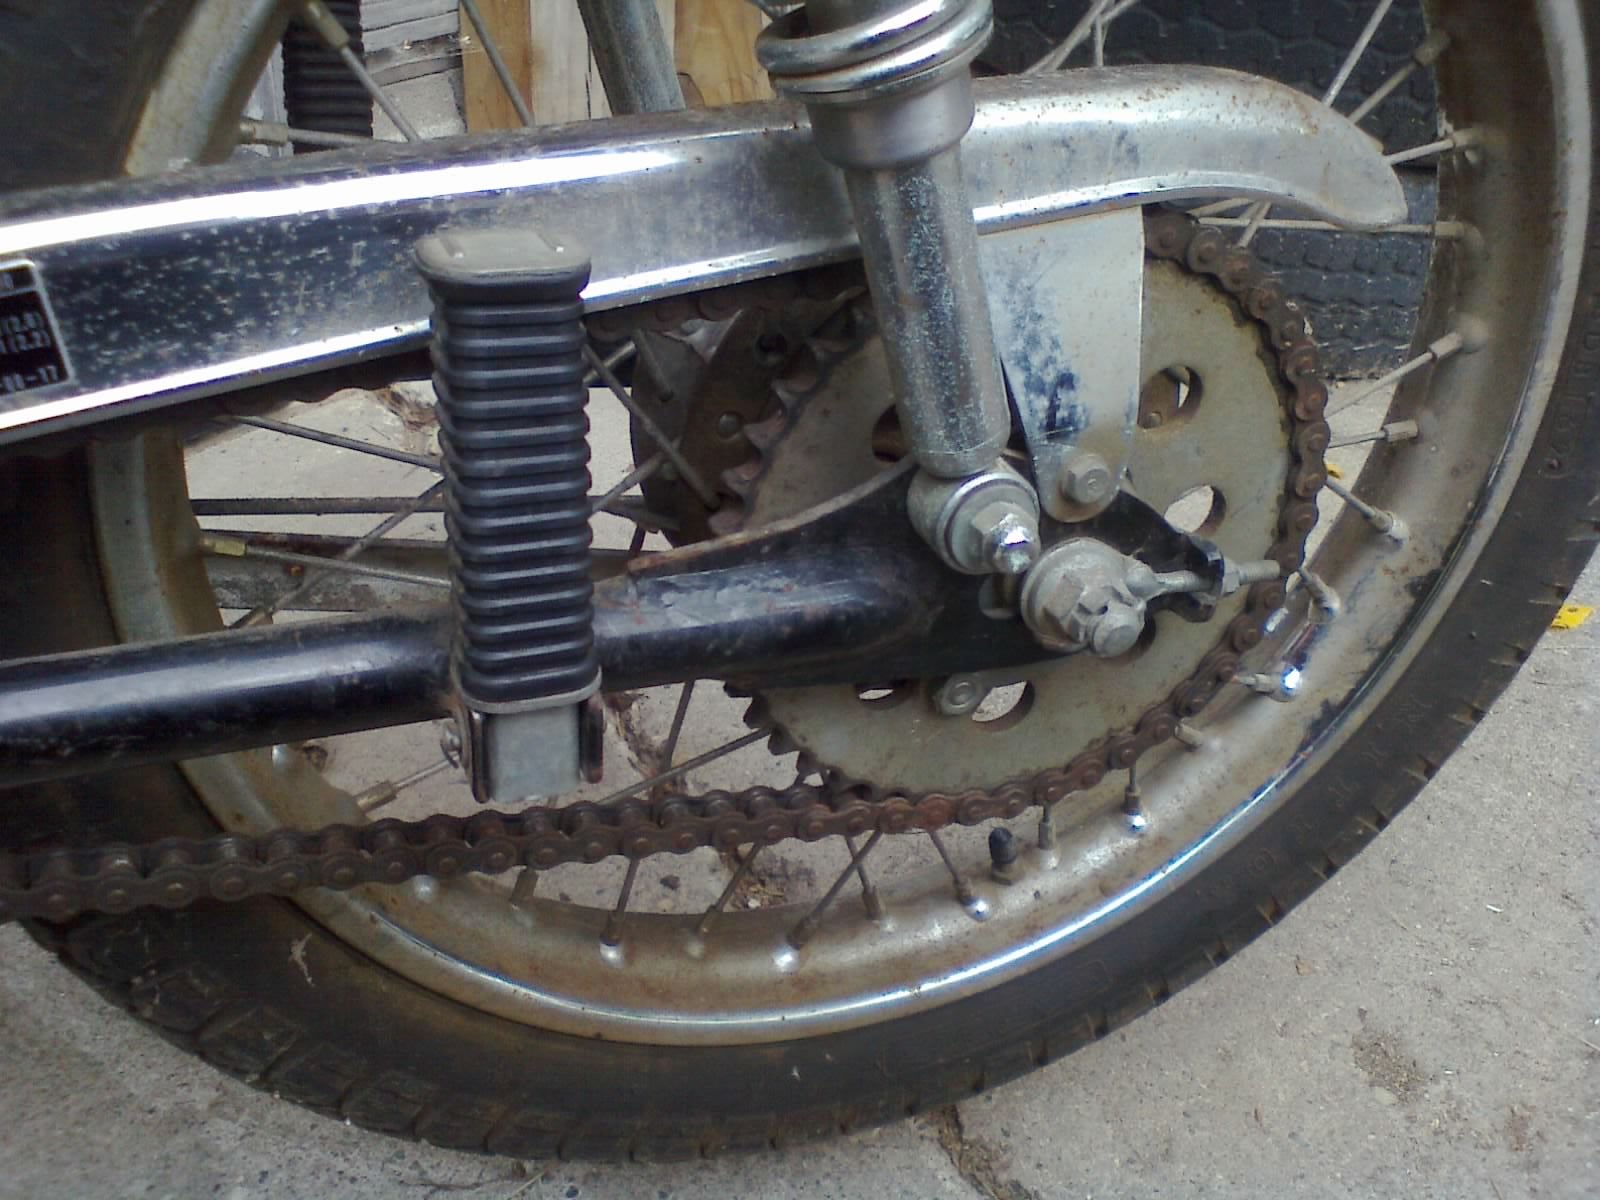
Before kerosene cleaning (can you find the master link?)
While the bike was outside, I used some kerosene to rinse, brush, and re-rinse the drive chain as I spun the rear wheel with the bike in neutral. It cleaned up very nicely, revealing much less rust than I was afraid I was going to find. Tension was good, and none of the links showed any binding. I re-oiled it with some regular chainsaw bar & chain oil and cleaned up the excess.
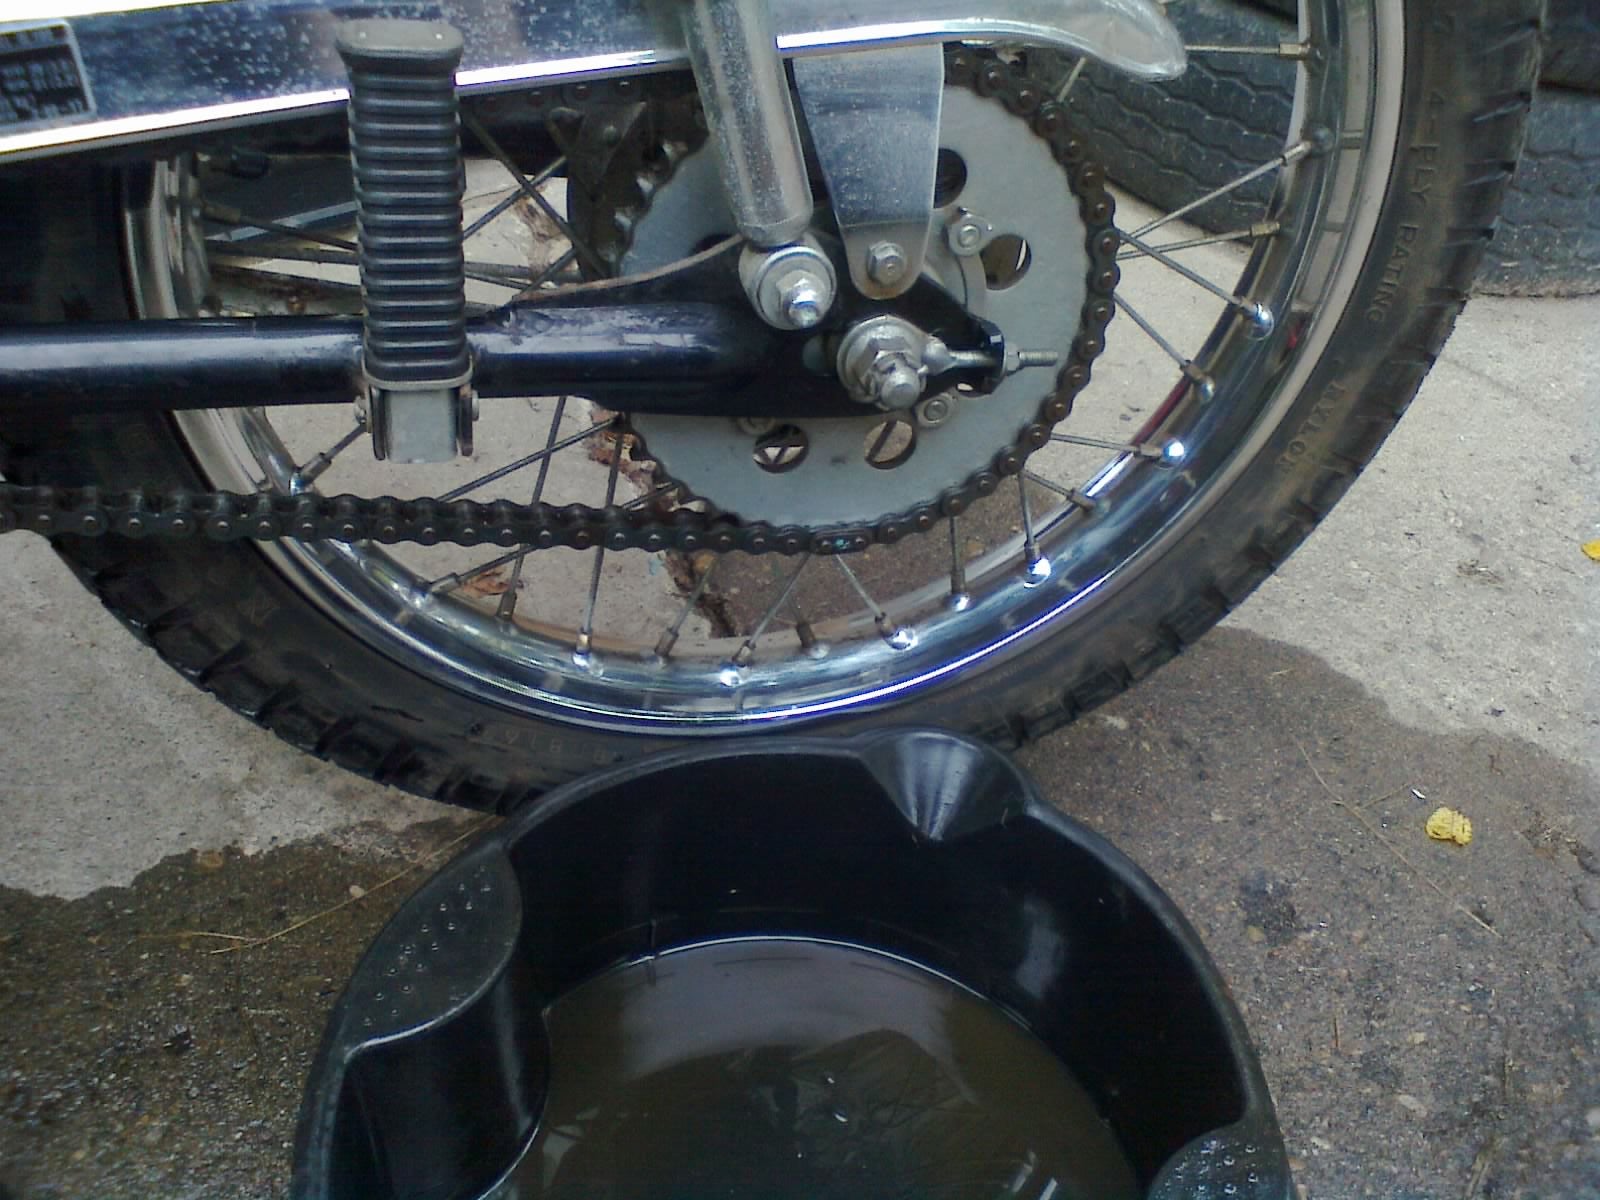
After kerosene cleaning (see the master link now?)
The spray bottle that I had used to apply kerosene overshot the chain a little, and got some of the wheel wet. I gently brushed it off and found some bright chrome underneath. I immediately got distracted from my “mechanical stuff only” work, and started getting carried away, brushing more kerosene on other chrome parts of the bike. Sadly, some of the rust is too advanced to “erase” like this, but I could help but gain some satisfaction from the brilliance of all the chrome that did shined up easily.
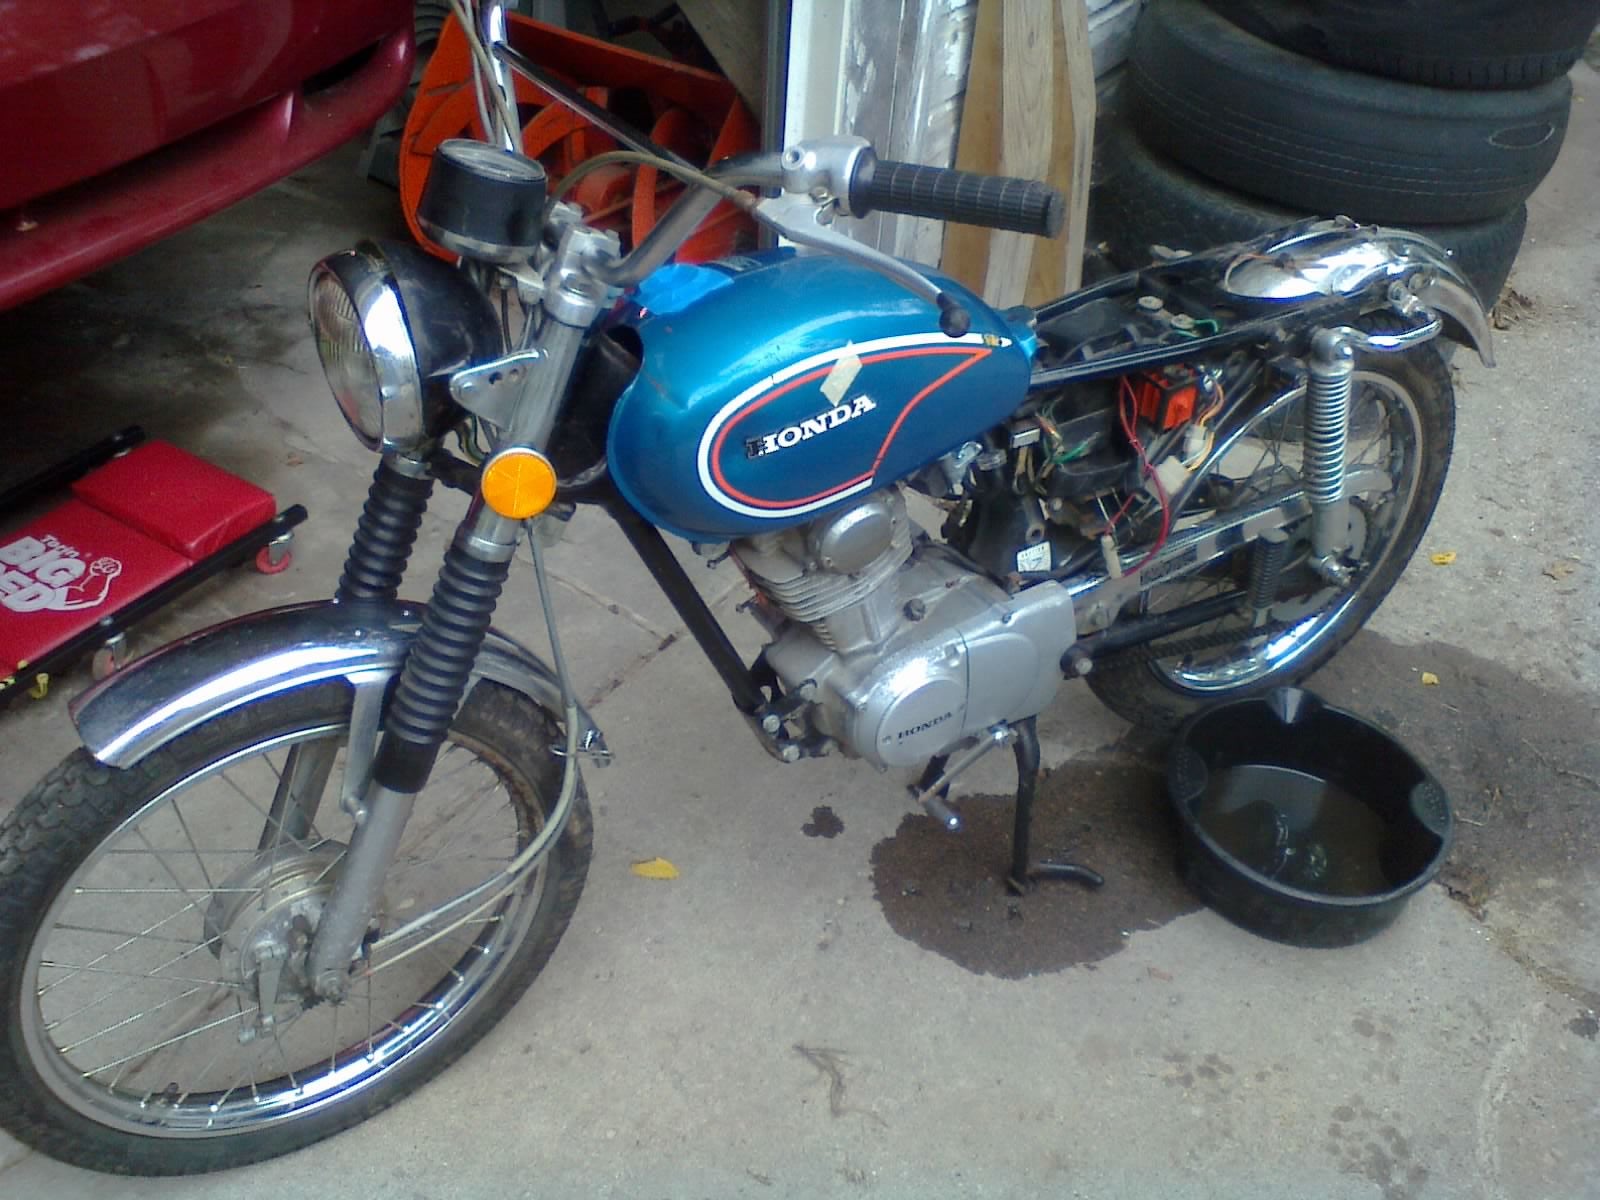
Still quite a bit of rust and dents here and there, but a big improvement nonetheless
I cut some rubber fuel line and installed a new filter. The barbs held the hose so tightly that the use of clamps felt unnecessary. I had my doubts, but even after running the engine, it’s not leaking a single drop. Must be because this is gravity-fed, and everything I’ve worked on previously has been pressurized. Neat.

The reflector wasn’t bent, just clocked wrong. It was the headlamp bracket that needed straightening.
While waiting for the new air filter element to arrive (the old foam had just rotted away), I tackled the headlamp housing and bent reflector. Turns out the reflector was not bent, but the headlamp bracket was, forcing the reflector to sit at the wrong angle. I removed the bridge and slid the upper cover off, then held the lamp bracket in a vise while turning the tube with some strap wrenches. Properly aligned, I reassembled it and moved on to the headlamp housing.
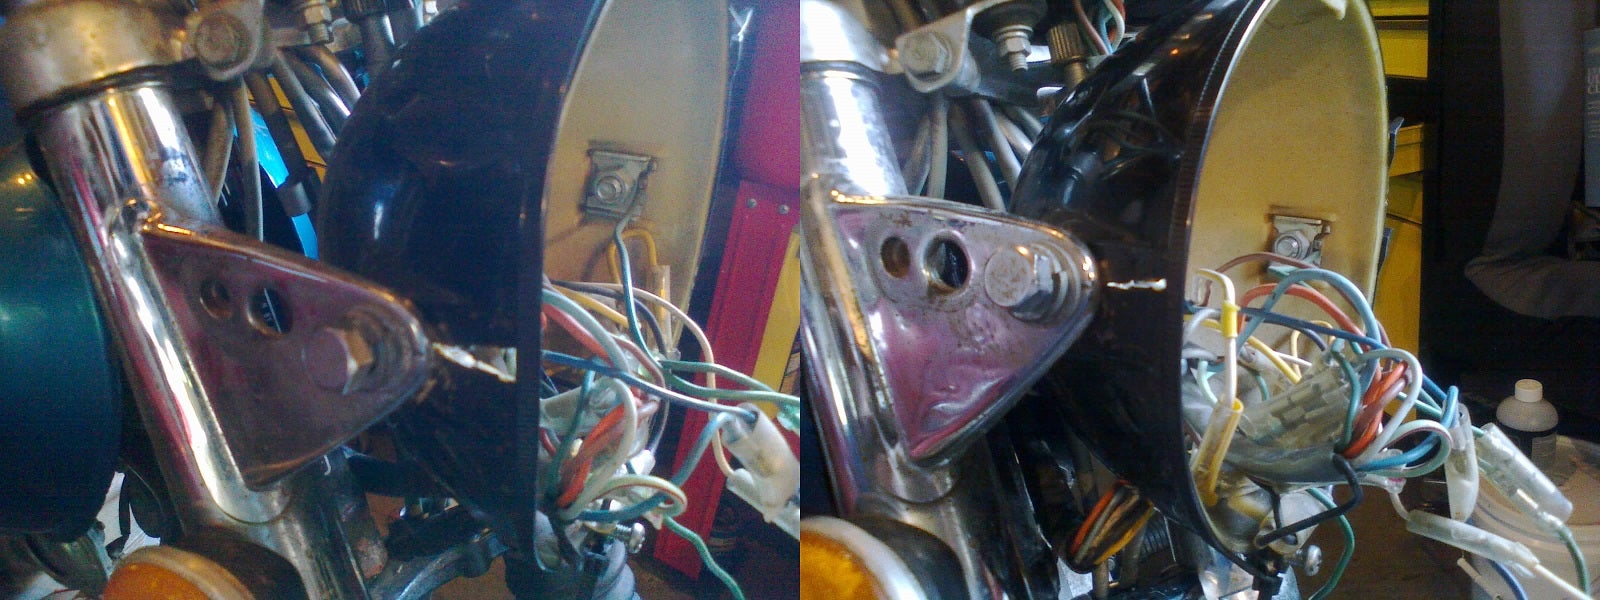
That’s as close as it’s gonna get.
The plastic was cracked and spread open at one of the mounting holes. To close it back up, I strung some zip-ties along the circumference of the housing and tightened them between applications of heat to help flex the housing back into shape. Even after sitting clamped overnight, it would not let me close the crack completely, so while it was still clamped, I applied some cutoff zip-tie material to the inside of the housing with hot glue to “stitch” the crack closed.
The air filter arrived, and I installed it with the rest of the air cleaner assembly. I reinstalled the exhaust and attached the new battery. I carefully looked everything over, making sure I didn’t leave any bolts or screws loose, or leave any openings capped to keep critters out. Everything checked out, and it was time to try starting it.
Continued in !!!error: Indecipherable SUB-paragraph formatting!!! ...
 jimz
> Urambo Tauro
09/26/2016 at 12:14 |
|
oh god do I hate running into JIS screws.
fuel cock

 Urambo Tauro
> jimz
09/26/2016 at 12:19 |
|
I hated them at first, but they allow for more positive engagement of the fastener. It’s the Philips screws and screwdrivers that deserve all the hate.
 jimz
> Urambo Tauro
09/26/2016 at 12:22 |
|
well, it’s more that the Philips head has outlived its usefulness. it was invented in the days before drivers had adjustable torque limits, so the bit is designed to “cam out” of the screw before breaking it. Honestly I wish we would just move to something like hex socket head (“Allen”) or square (“Robertson, eh?”)
the main reason I hate JIS screws is because I can never find the goddamned JIS screwdriver bits. most of our Japanese suppliers use them to assemble their parts, and if I have to go in and modify/re-work one it’s a long string of prayers not to mess up the screw.
 DynamicWeight
> jimz
09/26/2016 at 12:53 |
|
I agree whole heartedly, allen head all the things.